Big announcement: I'm pregnant! I thought I'd preface the post with that for a few reasons: 1 - it might be a little weird if I randomly showed up with a baby on the blog later this year. 2 - I wouldn't want to keep you people in the dark forever. And 3 - I wouldn't have bought new jeans if my old ones hadn't become too small because I love my old jeans. Oh and 4 - now I can tell you part of the reason I've been posting so sporadically is the ridiculous tiredness that is the first trimester (glad to be done with that!).
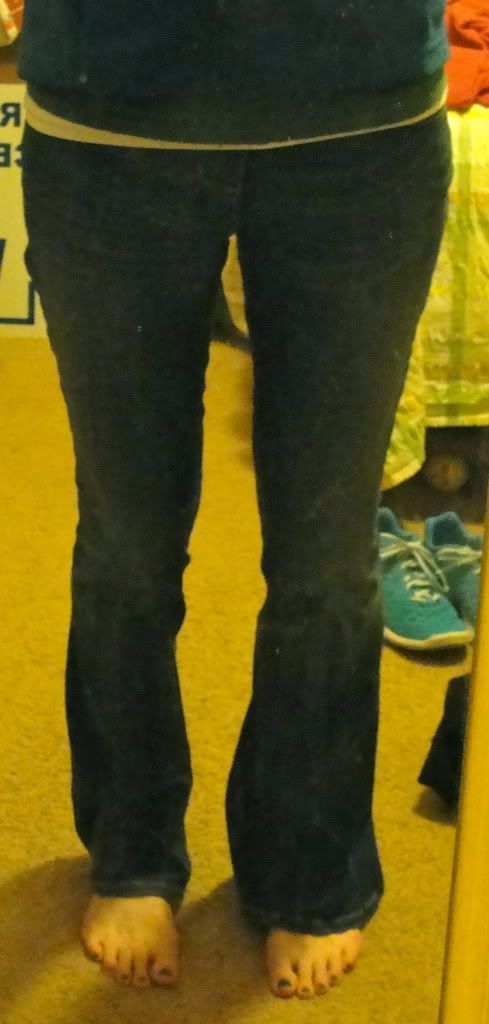
I really didn't want to pay full price for something that can't be a permanent part of my wardrobe, so I've been hitting the sales and clearance racks. I found a pair of jeans that fit great and were comfortable, but the legs were very flared. A little too flared for my taste. I think they were on clearance for $15, so I didn't want to pass them up since I was pretty sure I could fix them.
And I was right. Yay! This is how you can take flared jeans and change them to bootcut (or skinny for that matter). From pinning to having everything done, I would guess it took me less than 30 minutes. Definitely worth saving more than 50% in my opinion. Bootcut vs. original flared leg
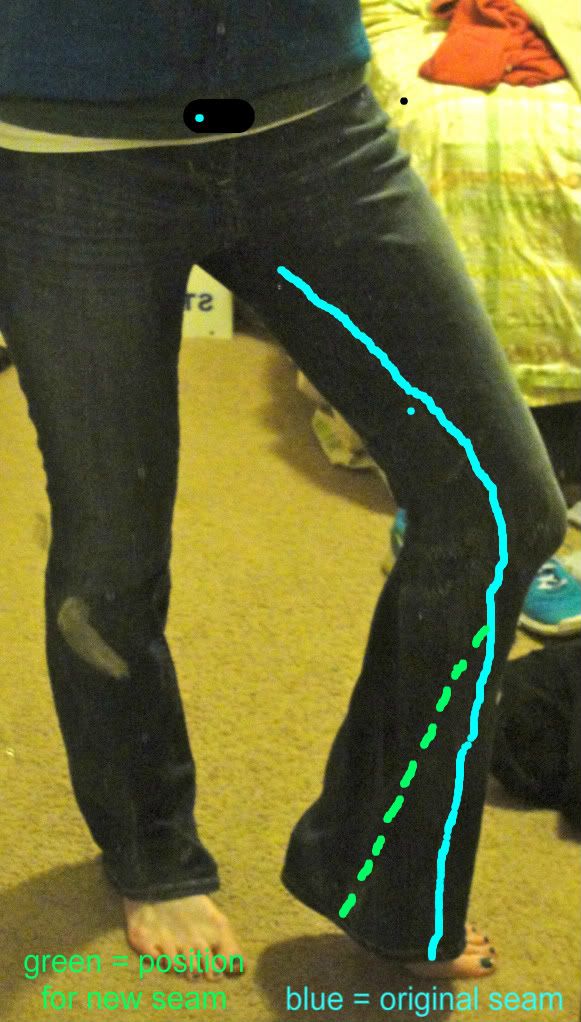
I didn't cut my jeans so if I decide I want them flared again at some point I can just take out the seam. This gives you an idea of where to pin (disregard the random black spot + blue blue dot, no idea how those appeared):
I just folded the excess on the inside and pinned it so the original seam went more straight down instead of coming out to the front (not sure that made any sense at all). The bottom seam was too big to fit in my sewing machine, so there was about an inch at the bottom I hand sewed. I didn't really worry about making it super sturdy since the rest of the leg was already sewed on.
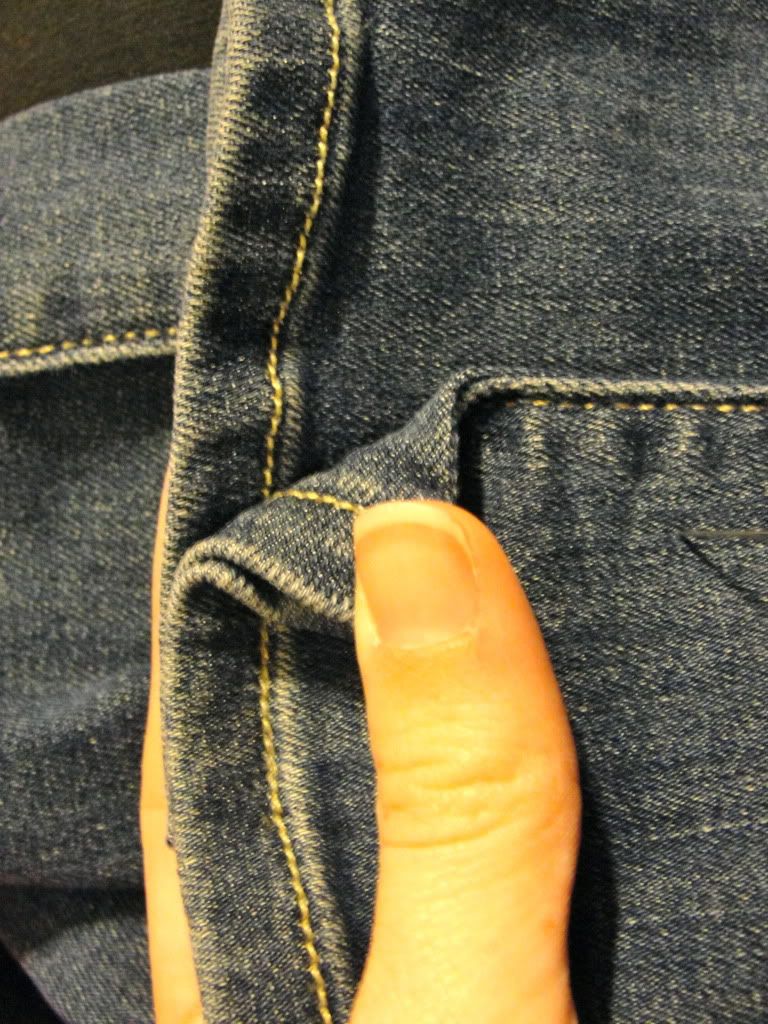
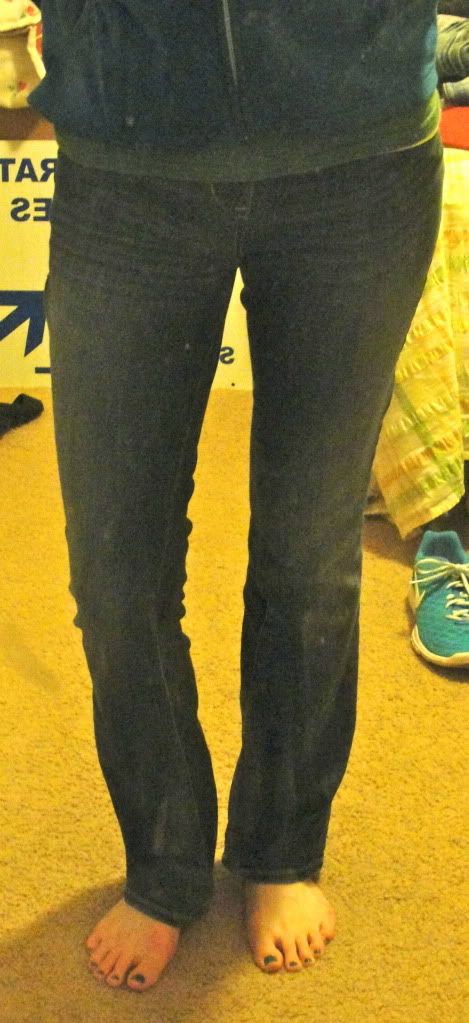
You can kind of tell from the picture above that I just kept the original seam and sewed over it. You can't tell unless you're really inspecting the seam up close and this way it looks like the jeans were made that way. I guess this wasn't the most detailed or informative post ever, but if you want more details feel free to get in touch. You could do this with any jeans, not just maternity. Here's the finished product:
Thanks for staying with me since I've been so spotty with posting. I actually already have another project halfway finished, so hopefully I can share that soon(ish)! Aaand I'll work on getting some better pictures for that one too : )